
How to Fit a Tubeless Road Tyre
Tubeless road tyres look almost identical to normal tyres but with one major difference. As the name suggests, tubeless tyres do not feature the inner tubes found in regular tyres. Many have noted the improved road feel when riding with tubeless tyres due to the reduced friction, fewer punctures and increased comfort compared to inner tubes.
Plenty of riders have already made the switch to tubeless tyres, with many more pondering whether they should follow suit. One thing that puts undecided cyclists off converting to tubeless tyres is the fitting process. To a novice, it can look time-consuming and overly intricate.
Our guide is here to put those fears to rest. If you’re thinking of switching to tubeless tyres but don’t know where to begin with the set-up, our article will detail all the necessary equipment you’ll need and steps to follow so you can experience a smoother ride on slick new wheels.
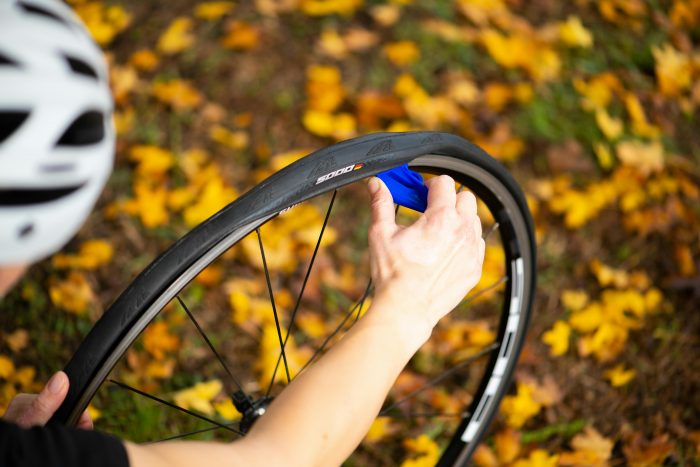
Table of contents
- What you’ll need to fit a tubeless road tyre
- How to fit and set up a tubeless road tyre
- How to maintain a tubeless road tyre
- Elevate your cycling experience with Fawkes Cycles
What you’ll need to fit a tubeless road tyre
By the end of our guide, you’ll be an expert in fitting and setting up tubeless road tyres, ready for exciting and smooth rides everywhere you go. Before we get there we need to determine what you’ll need to get the job done. Most items and equipment required for fitting tubeless tyres are specific to this task, so we’ve listed the specifics below.

Tubeless tyre
As we’re sure you’re aware, you’ll need a tubeless tyre on hand in order to fit one! What’s important here is ensuring that your tyre is definitely tubeless compatible, as a tyre that requires an inner tube could fly off the rim during riding, bringing your journey to an abrupt end.
When shopping online, all compatible tyres will be identified as such so you can choose the correct one. Some common abbreviations used in a tyre description to denote that it is tubeless compatible are:
- TL – Tubeless
- TLR – Tubeless Ready
- TLE – Tubeless Easy
- TLC – Tubeless compatible
Tubeless rims
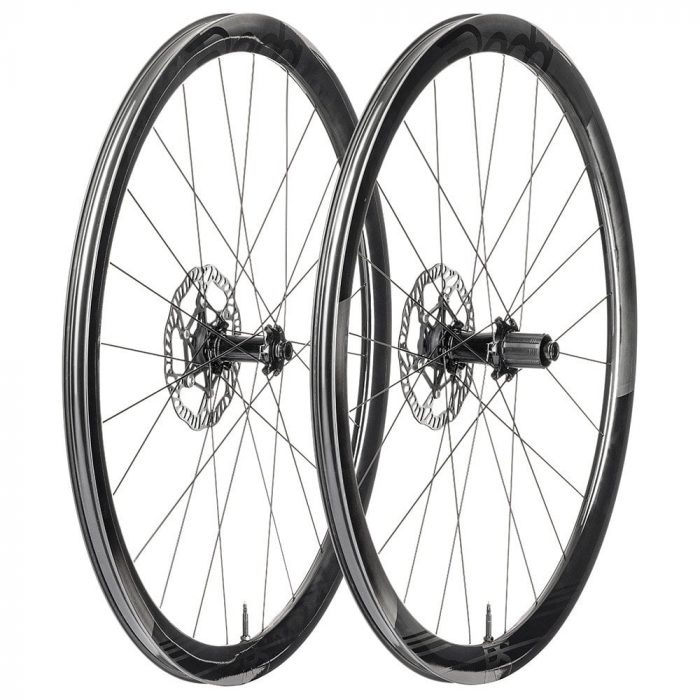
Tubeless-ready rims are almost identical to regular clincher rims but with a slight difference. These rims are usually slightly deeper and differ from regular rims in the hook, where the tyre beads connect with the rim.
A specific tubeless-ready rim is preferred to a tubeless compatible rim to guarantee the best performance and successful fitting.

Tubeless tape
Depending on your rim, you may require tubeless tape to secure an airtight seal, restricting air from escaping the spoke holes. Ensure you check your rim to see if it is pre-taped or doesn’t feature spoke holes, rendering the use of tape unnecessary.
If you do require tape, it will need to be applied to the bed of the rim to provide the relevant barrier.
Tubeless valves
A tubeless valve is often attached to the conical bung in the valve entryway. Once tightened, the lock modifies the bung’s shape around the valve hole and tape to form a seal.
Tubeless valves come with removable cores that assist inflation and create easy access for cleaning and replacement when necessary.

Sealant
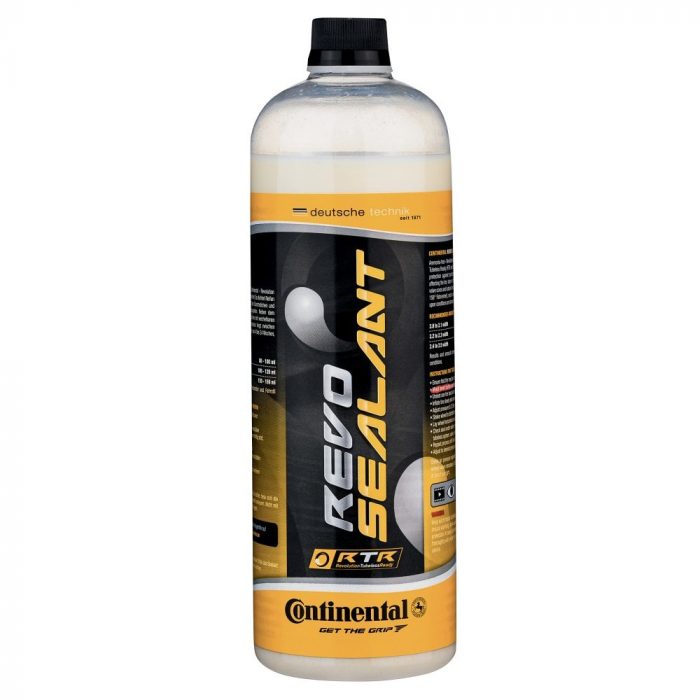
Tubeless sealant is a liquid that protects your tubeless tyres from punctures by plugging small holes in your tyre’s casing. Mostly latex-based, sealants are essential for keeping your tyres healthy and sealing any holes quickly and effectively.
Tubeless pump
While not as essential as the previously mentioned items, a tubeless tyre pump still comes highly recommended. Some tubeless tyres require a sudden boost of air to seat properly, and a tubeless pump is the perfect way to provide it.
These pumps feature an air chamber that receives all the released air in one go, reducing the need to pump continuously to seat the tyres.

How to fit and set up a tubeless road tyre
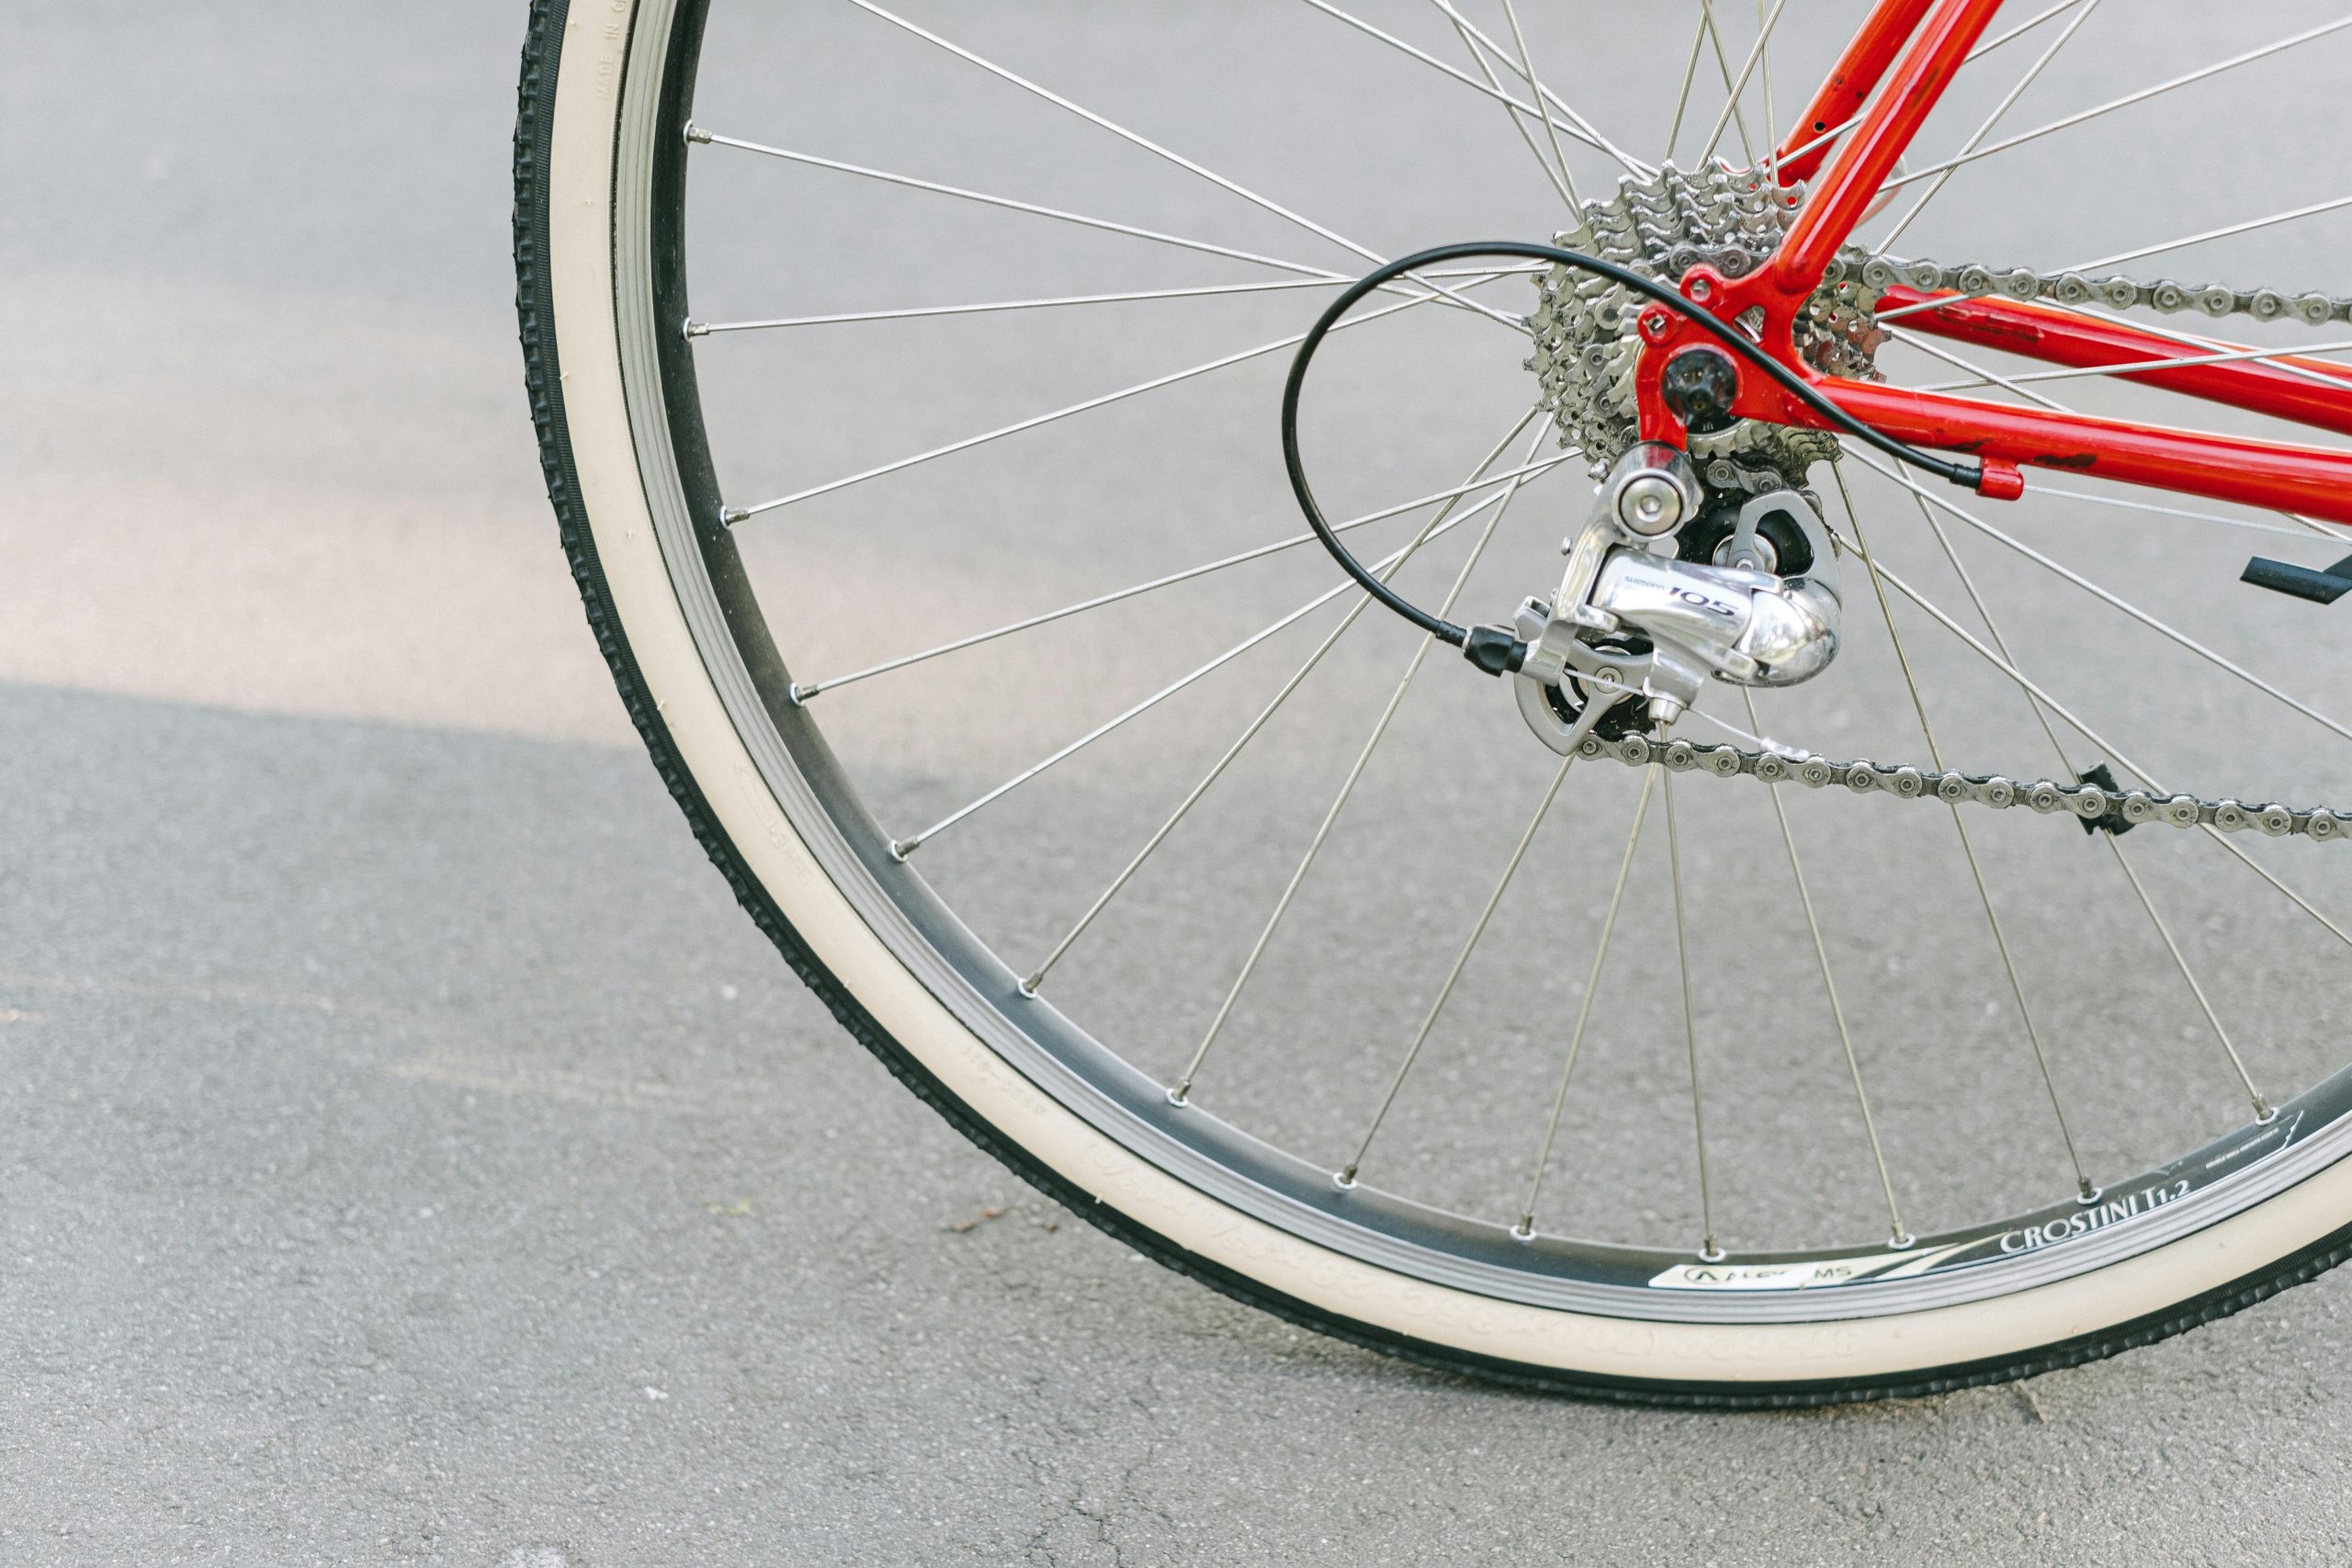
Now you’ve got everything you need, and you’re appropriately kitted out for the job, it’s time to learn how to fit your tubeless road tyre. Follow our five simple steps, and you’ll be hitting the road in free-flowing style in no time.
1 – Check and tape the rim
Ensure your rim bed is 100% clean, dry and free from any debris or residue from old tape and sealant before applying your tape. If there is any leftover residue, use a clean rag and cleaning alcohol to wipe it away.
Apply around 6 to 8 inches of tape into the well of the rim, staying central and pulling tight throughout your movement. It’s best to apply tape from the two spokes beyond the valve hole. The tape should hold itself in place after applying this initial section.
Hold the wheel around the hub and rotate it away from you to apply further tape within the well. Ensure the tension remains high so that you keep your application central. Continue until you have wrapped all the way around the rim, and once you reach your starting position, overlap by a few inches and cut the tape.
Press the tape down with your thumbs and inspect it. If you notice any damage or punctures, it’s best to remove the tape and start again.
2 – Insert the tubeless valve
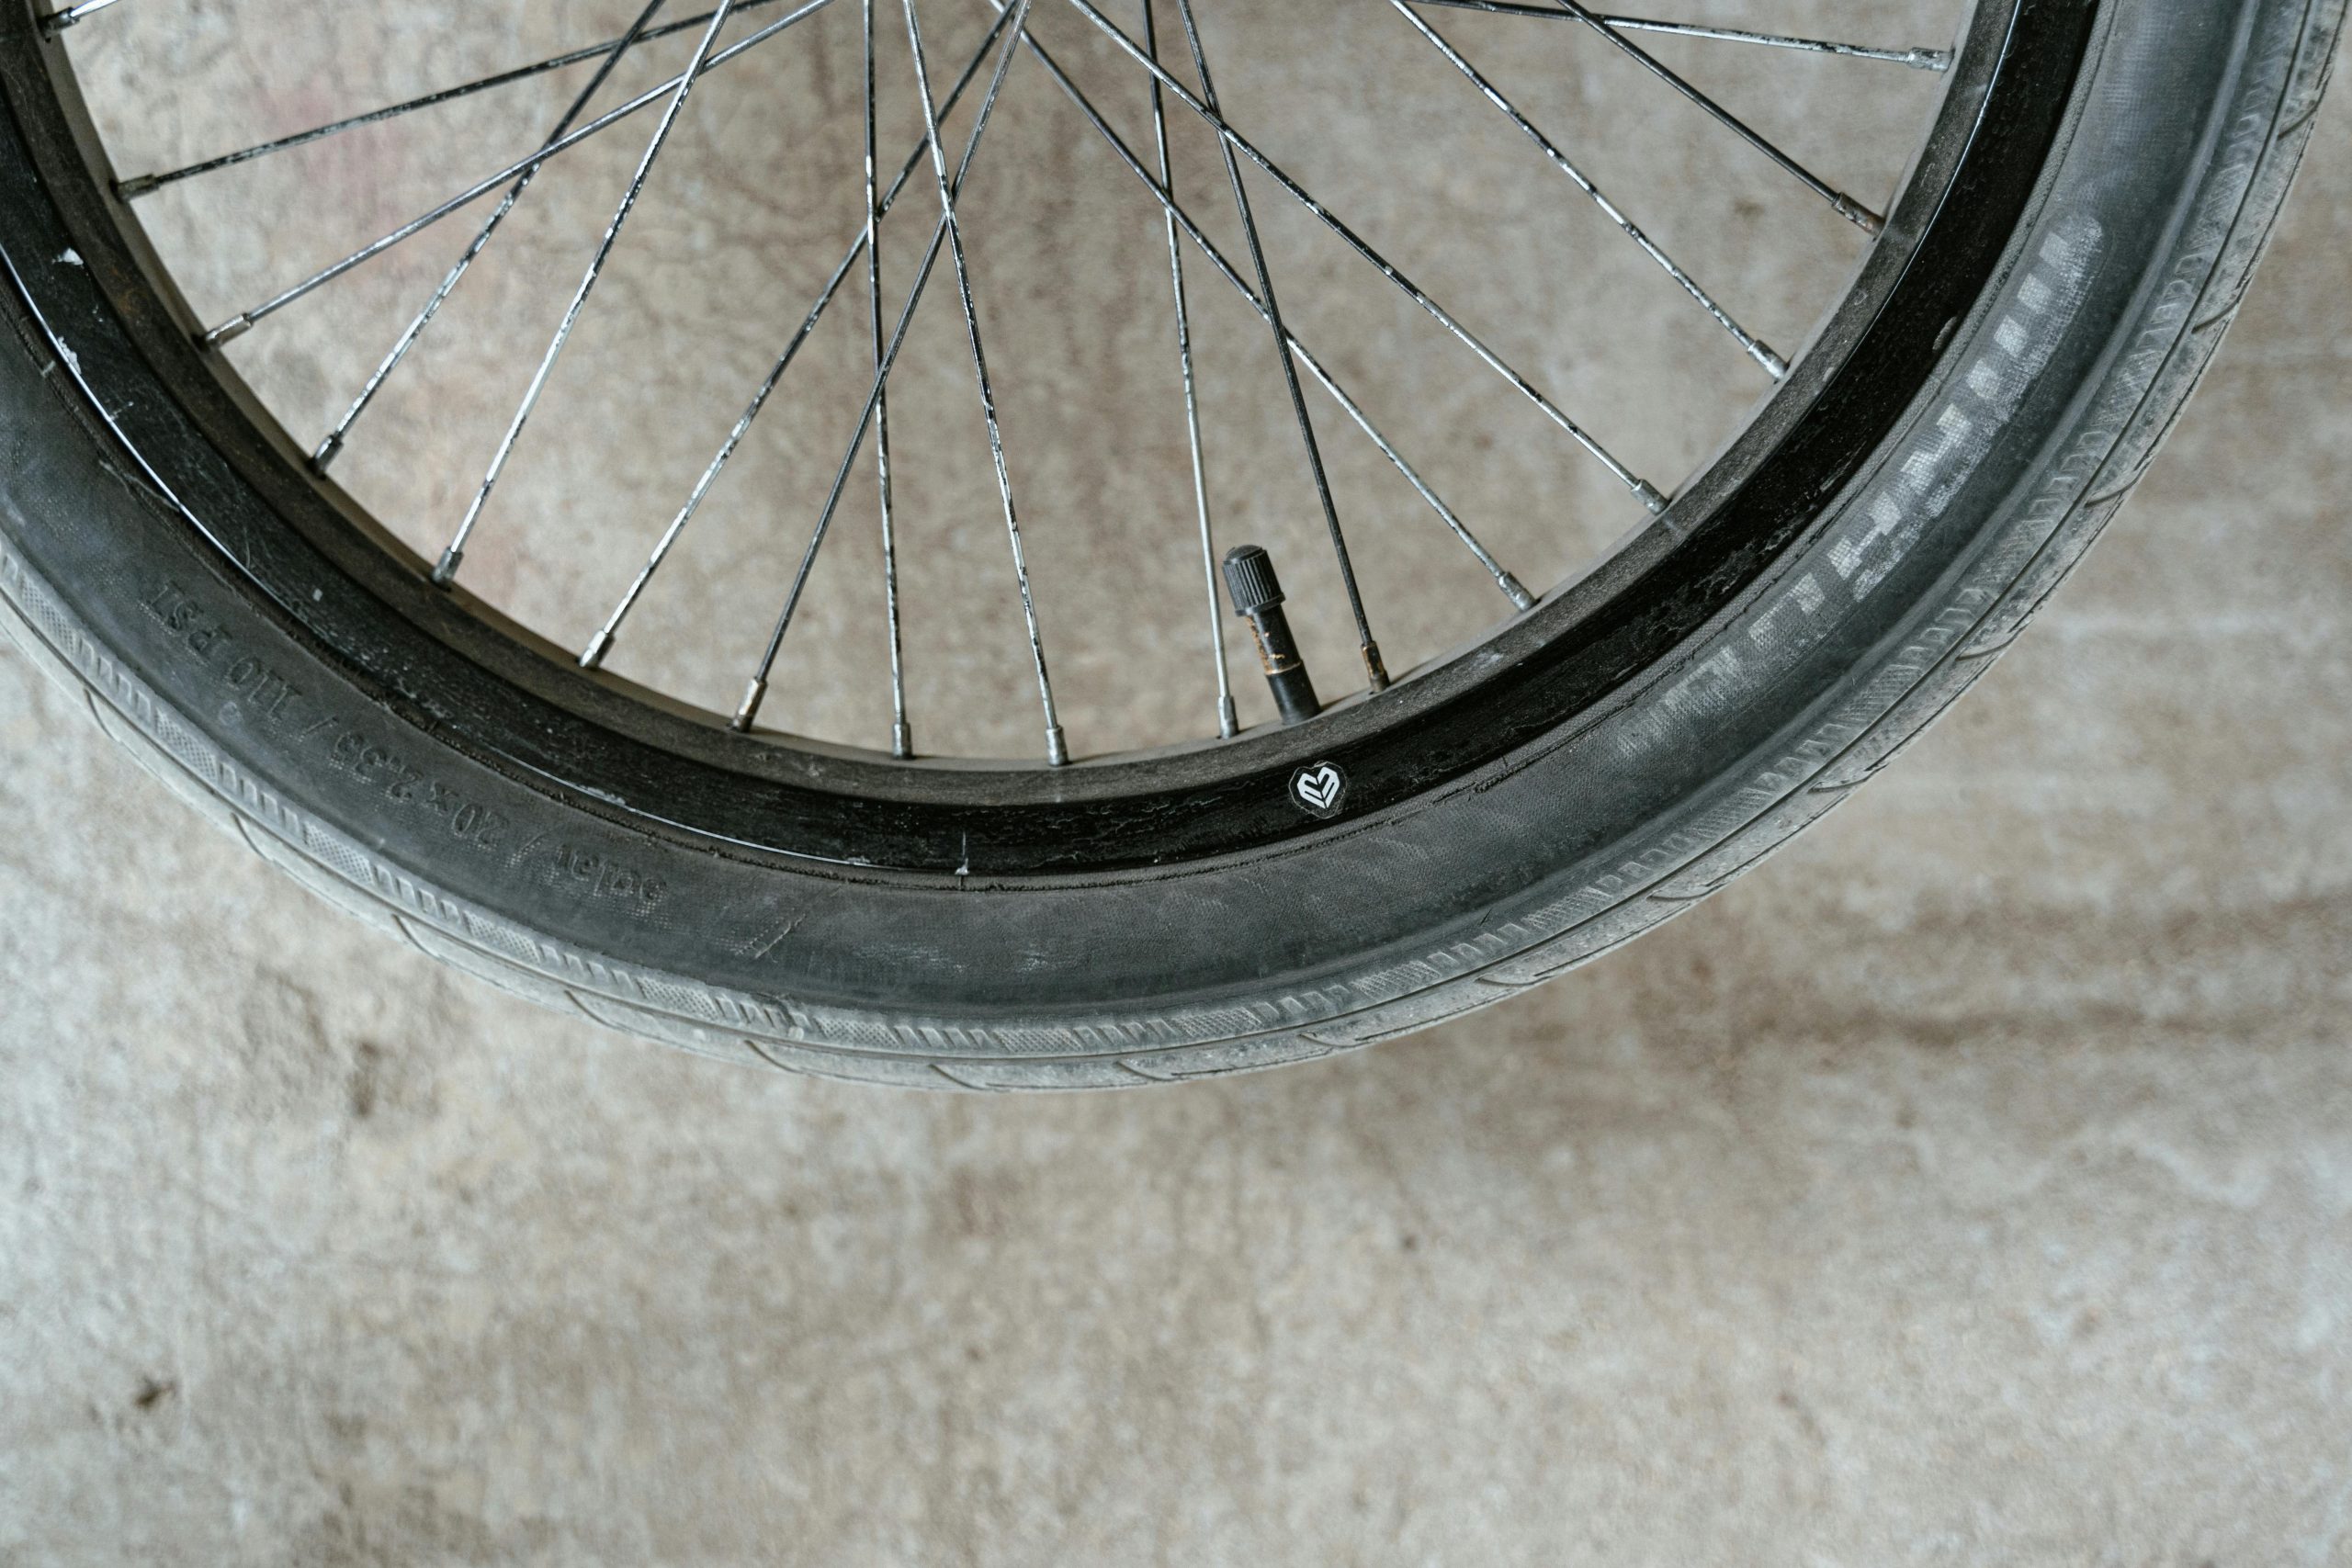
Locate the valve hole on the rim and lightly push a small nick in the tape from the inside to mark the spot. From the opposite side, make a small hole in this position. Insert the valve through the hole to shape the puncture to the appropriate size.
Use your thumb to push down on the valve until it deforms the bung and screw on the lockring. Down the line, you may need to perform a roadside removal. You can help your future self during fitting by applying a dab of grease to the lockring to assist removal.
3 – Place your tubeless tyre
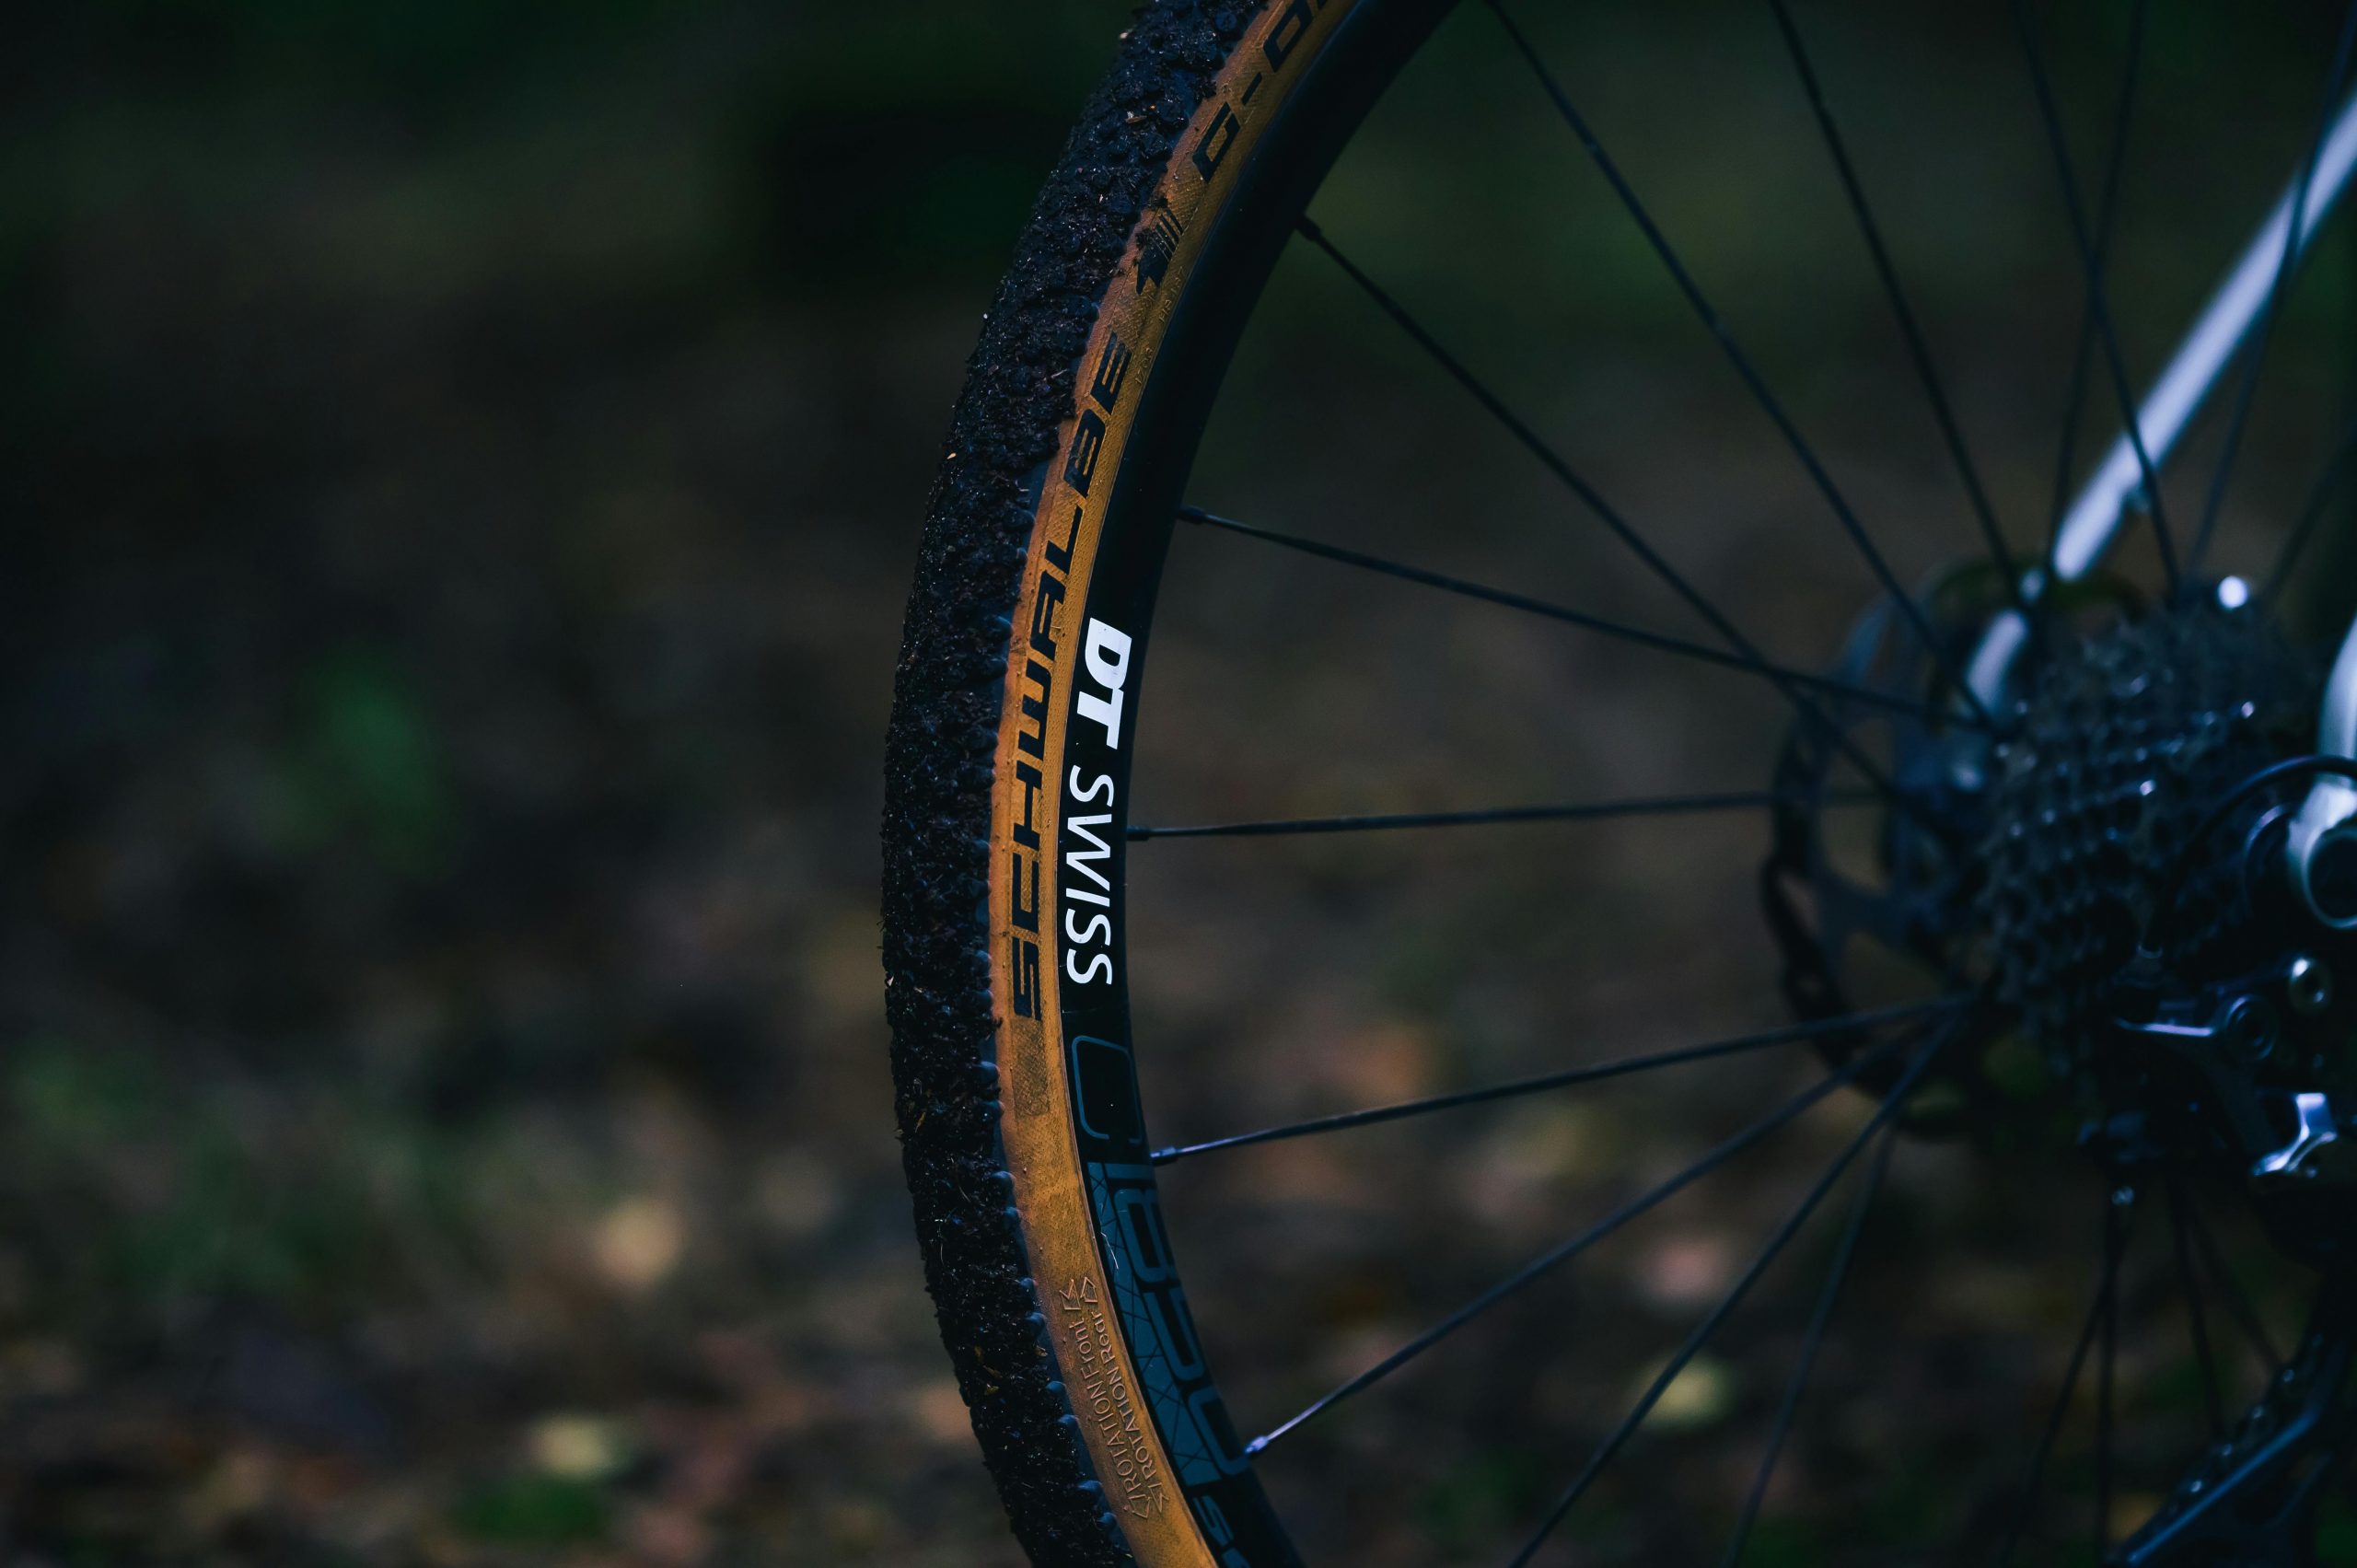
If you’ve ever fitted a regular clincher tyre, this process is very similar. The only difference is the tighter bead of tubeless tyres, which can make this slightly more difficult. Start by applying one side of your tyre to your rim, taking your time to ensure the bead is central in the wheel well.
Place the other half of your tyre around the rim, but leave around 15 centimetres of the bead off the rim around the area of the valve to make the final application easier. Once both sides are in place, work around the tyre to ensure it is sitting tightly in the well and on either side of the valve.
If you’re finding this tricky, you can push the tyre inwards to ensure it’s installed into the bead of the rim and take up any slack.
4 – Apply your sealant
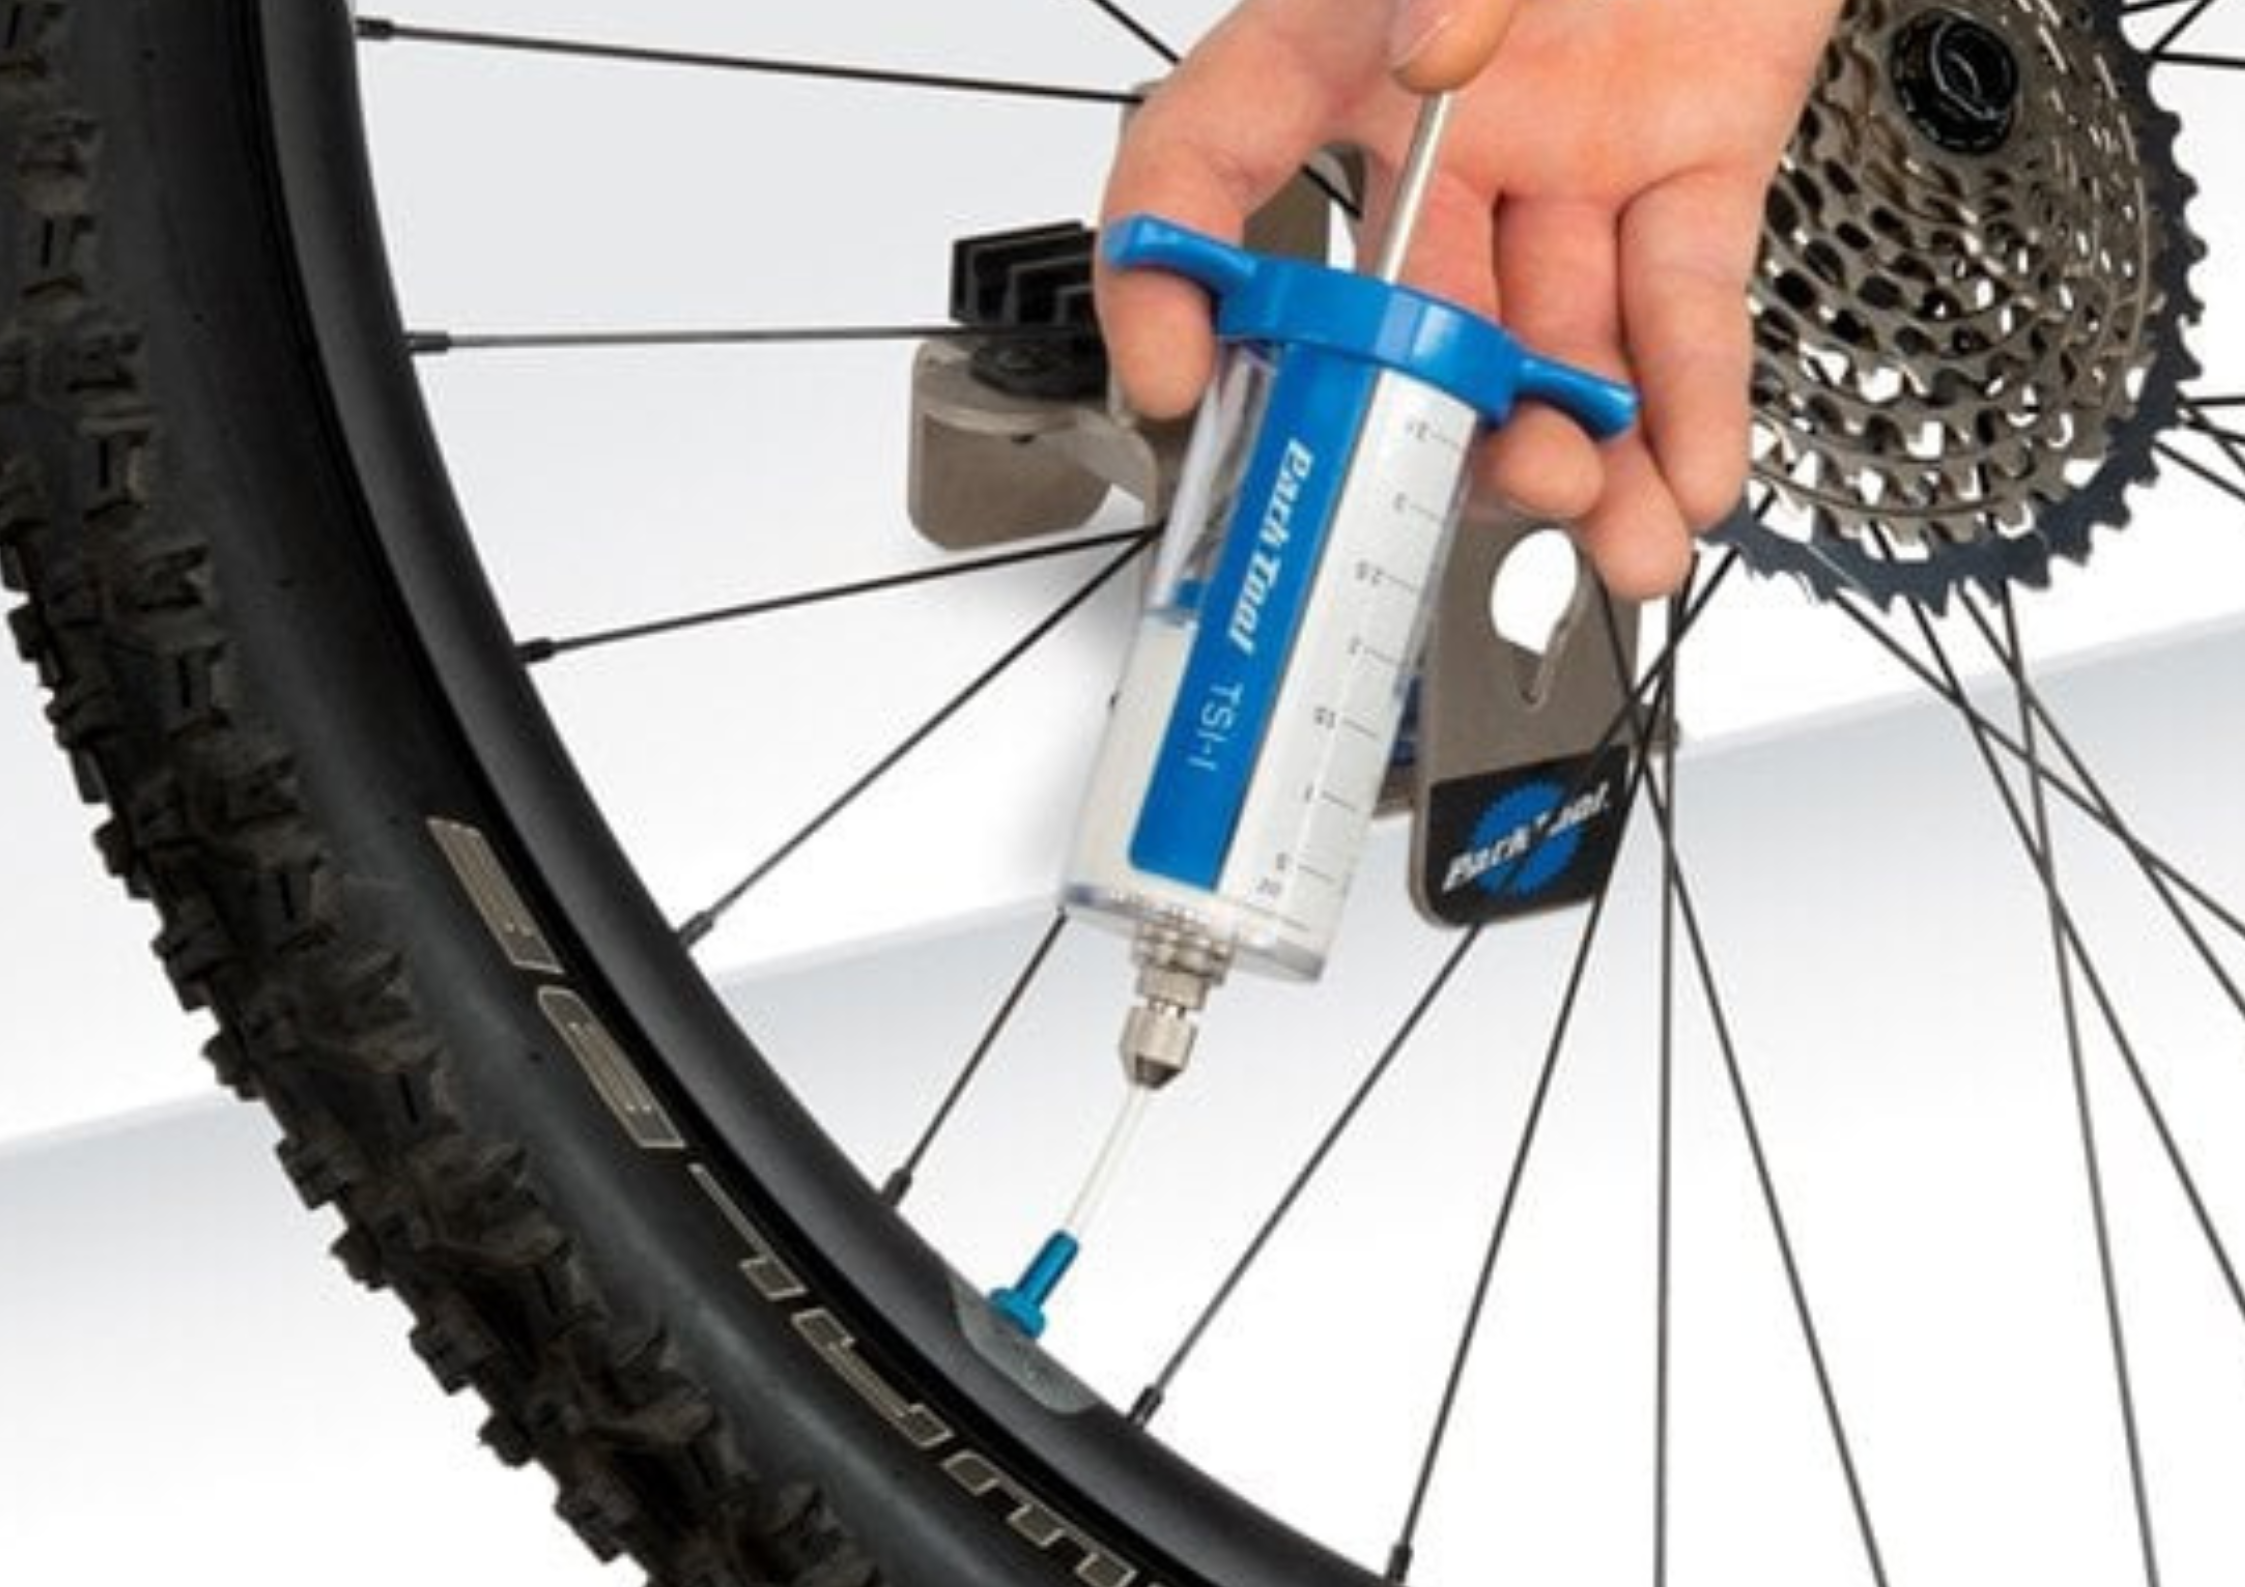
Ensure the part of the tyre you have left a few centimetres from the rim is sat at the bottom and apply your sealant here. Gently rotate the slightly open section to the top so the sealant is evenly distributed around the inside of the tyre.
The sealant left in the open section will make closing the final part of the tyre, ideally next to the valve, much easier. Ensuring the rest of the tyre is securely in place before attaching the final section of the bead is ideal, as it frees up space to get the last part exactly right.
5 – Seat your tyre
It can be best to inflate your tyres with the valve core removed as it allows a direct path for air to reach the tyre. Fit your pump, and enough air will have entered the tyre in just a few short movements.
Check all the way around your tyre to ensure it’s seated before removing the pump and replacing the valve core. Your tyre may have specific recommendations for tyre pressure, so check for that before pumping to reach the required pressure.
After attaching the wheel, give it a good few spins to fully ensure the sealant has made its way around the tyre.
How to maintain a tubeless road tyre
Tubeless road tyres are incredibly self-sufficient and shouldn’t need too much monitoring while on the road. The main piece of maintenance you’ll need to complete with tubeless tyres is checking and topping up your sealant every three months or so.
Check your sealant by removing a small section of the bead and taking a look for yourself. You can also insert a chopped cable tie through the valve core. If you need a top-up, you can simply pour fresh sealant into the open space or through the valve.
We recommend undertaking a deep clean on the tyre, rim and other compartments once every year to ensure that any clogged sealant is removed and everything is in sustainable condition.
Elevate your cycling experience with Fawkes Cycles
Find everything you need to fit tubeless road tyres and enjoy a smooth, fulfilling cycling experience at Fawkes Cycles. We stock an extensive selection of tubeless kits & valve parts to help fit your tyres and keep everything in top condition.
Tailor every aspect of your ride to your needs with our range of workshop essentials, cleaning equipment and even nutrition so your body is in just as strong condition as your bike.
Are you looking for some new cycling gear to go alongside your new riding style? You’re in luck! Our clothing collection at Fawkes features the best the industry has to offer, with items available from leading brands, including Shimano, Madison and Alpinestars.

Comments are closed here.