
Five Essential Roadside Bike Maintenance Quick Fixes
While modern road bikes are incredibly strong and durable, they’re still susceptible to small or major mechanical failures and issues during races or longer rides that can threaten to stop you in your tracks. Turn these potential journey-ending moments into temporary pit stops by learning how to complete quick roadside repairs and fixes.
These techniques are essential for any cyclist and are incredibly helpful to know if you’re on a group ride and a friend runs into trouble with their bike who doesn’t share the same knowledge. We’ve gathered the key repairs and fixes every cyclist should know should they encounter an issue on their journey.
Read on and practice each method at home until you’re confident you can perform them on the road when necessary.

Table of contents
- How to fix a flat tyre
- How to repair a broken chain
- How to replace and adjust brake pads
- Tightening and replacing loose bolts
- Checking for damage after a crash
- Bike maintenance essentials at Fawkes Cycles

How to fix a flat tyre
Unfortunately, flat tyres are one of the most common issues you’ll encounter when on your bike. Whether it be wear and tear or a puncture from something you’ve ridden over on the way, a flat tyre will stop you in your tracks and need fixing on the spot.
Remove the wheel
Once safely off the road, gently remove the wheel from the bike. If you have quick-release wheels or rim brakes, ensure you undo the quick-release on the skewer. Remove the wheel with a spanner or hex from your tool kit if you don’t.
Deflate and remove the tyre
Let any remaining air out of your tyre once the wheel has been removed. This will make removing the tyre from the rim much easier using tyre levers. Place the lever under the tyre bead and apply pressure so it will begin to lift. Secure this lever in place by hooking it under a spoke and then inserting a second lever under the bead of the tyre. Slowly run this second lever around the wheel’s circumference to loosen and eventually remove the tyre tube.
Inspect the tube to find the puncture
With your tyre fully removed, you can inspect the tube for sharp objects and punctures. Add some air to the tube to identify where the split has occurred. Carefully run your fingers through the inside of the tyre. Remove any objects stuck in your tyre and assess whether the hole in the tyre needs repairing. For small to medium cuts a tyre boot can be used to get you back on your way.
Fix the puncture/replace the tube
If the puncture is fixable, use sandpaper to rough up the area around the puncture to help adhesiveness. Add glue to the area before sticking on the patch and waiting briefly for the glue to dry. Your puncture repair kit may include self-adhesive patches that don’t require glue. Test the tightness by applying some air to it.
Should you wish to replace the tube, you’ll need to insert the valve before tucking the tyre inside the tube. Start near the valve and work your way around. If you’re struggling, add a small amount of air to the tube so it can become firmer and easier to place.
Refit and inflate the tyre
Finally, you can put your tube back on the tyre by tucking the bead back onto the rim. Push the tyre onto the rim by working your way around the wheel with your thumbs. If this becomes difficult to do by hand, use your levers for assistance, but be extremely careful not to pinch the tube as you do it. Once fitted, put some air in the tyres until suitably inflated and in place. Spin your wheels and check your brakes before getting back on the road.
How to repair a broken chain
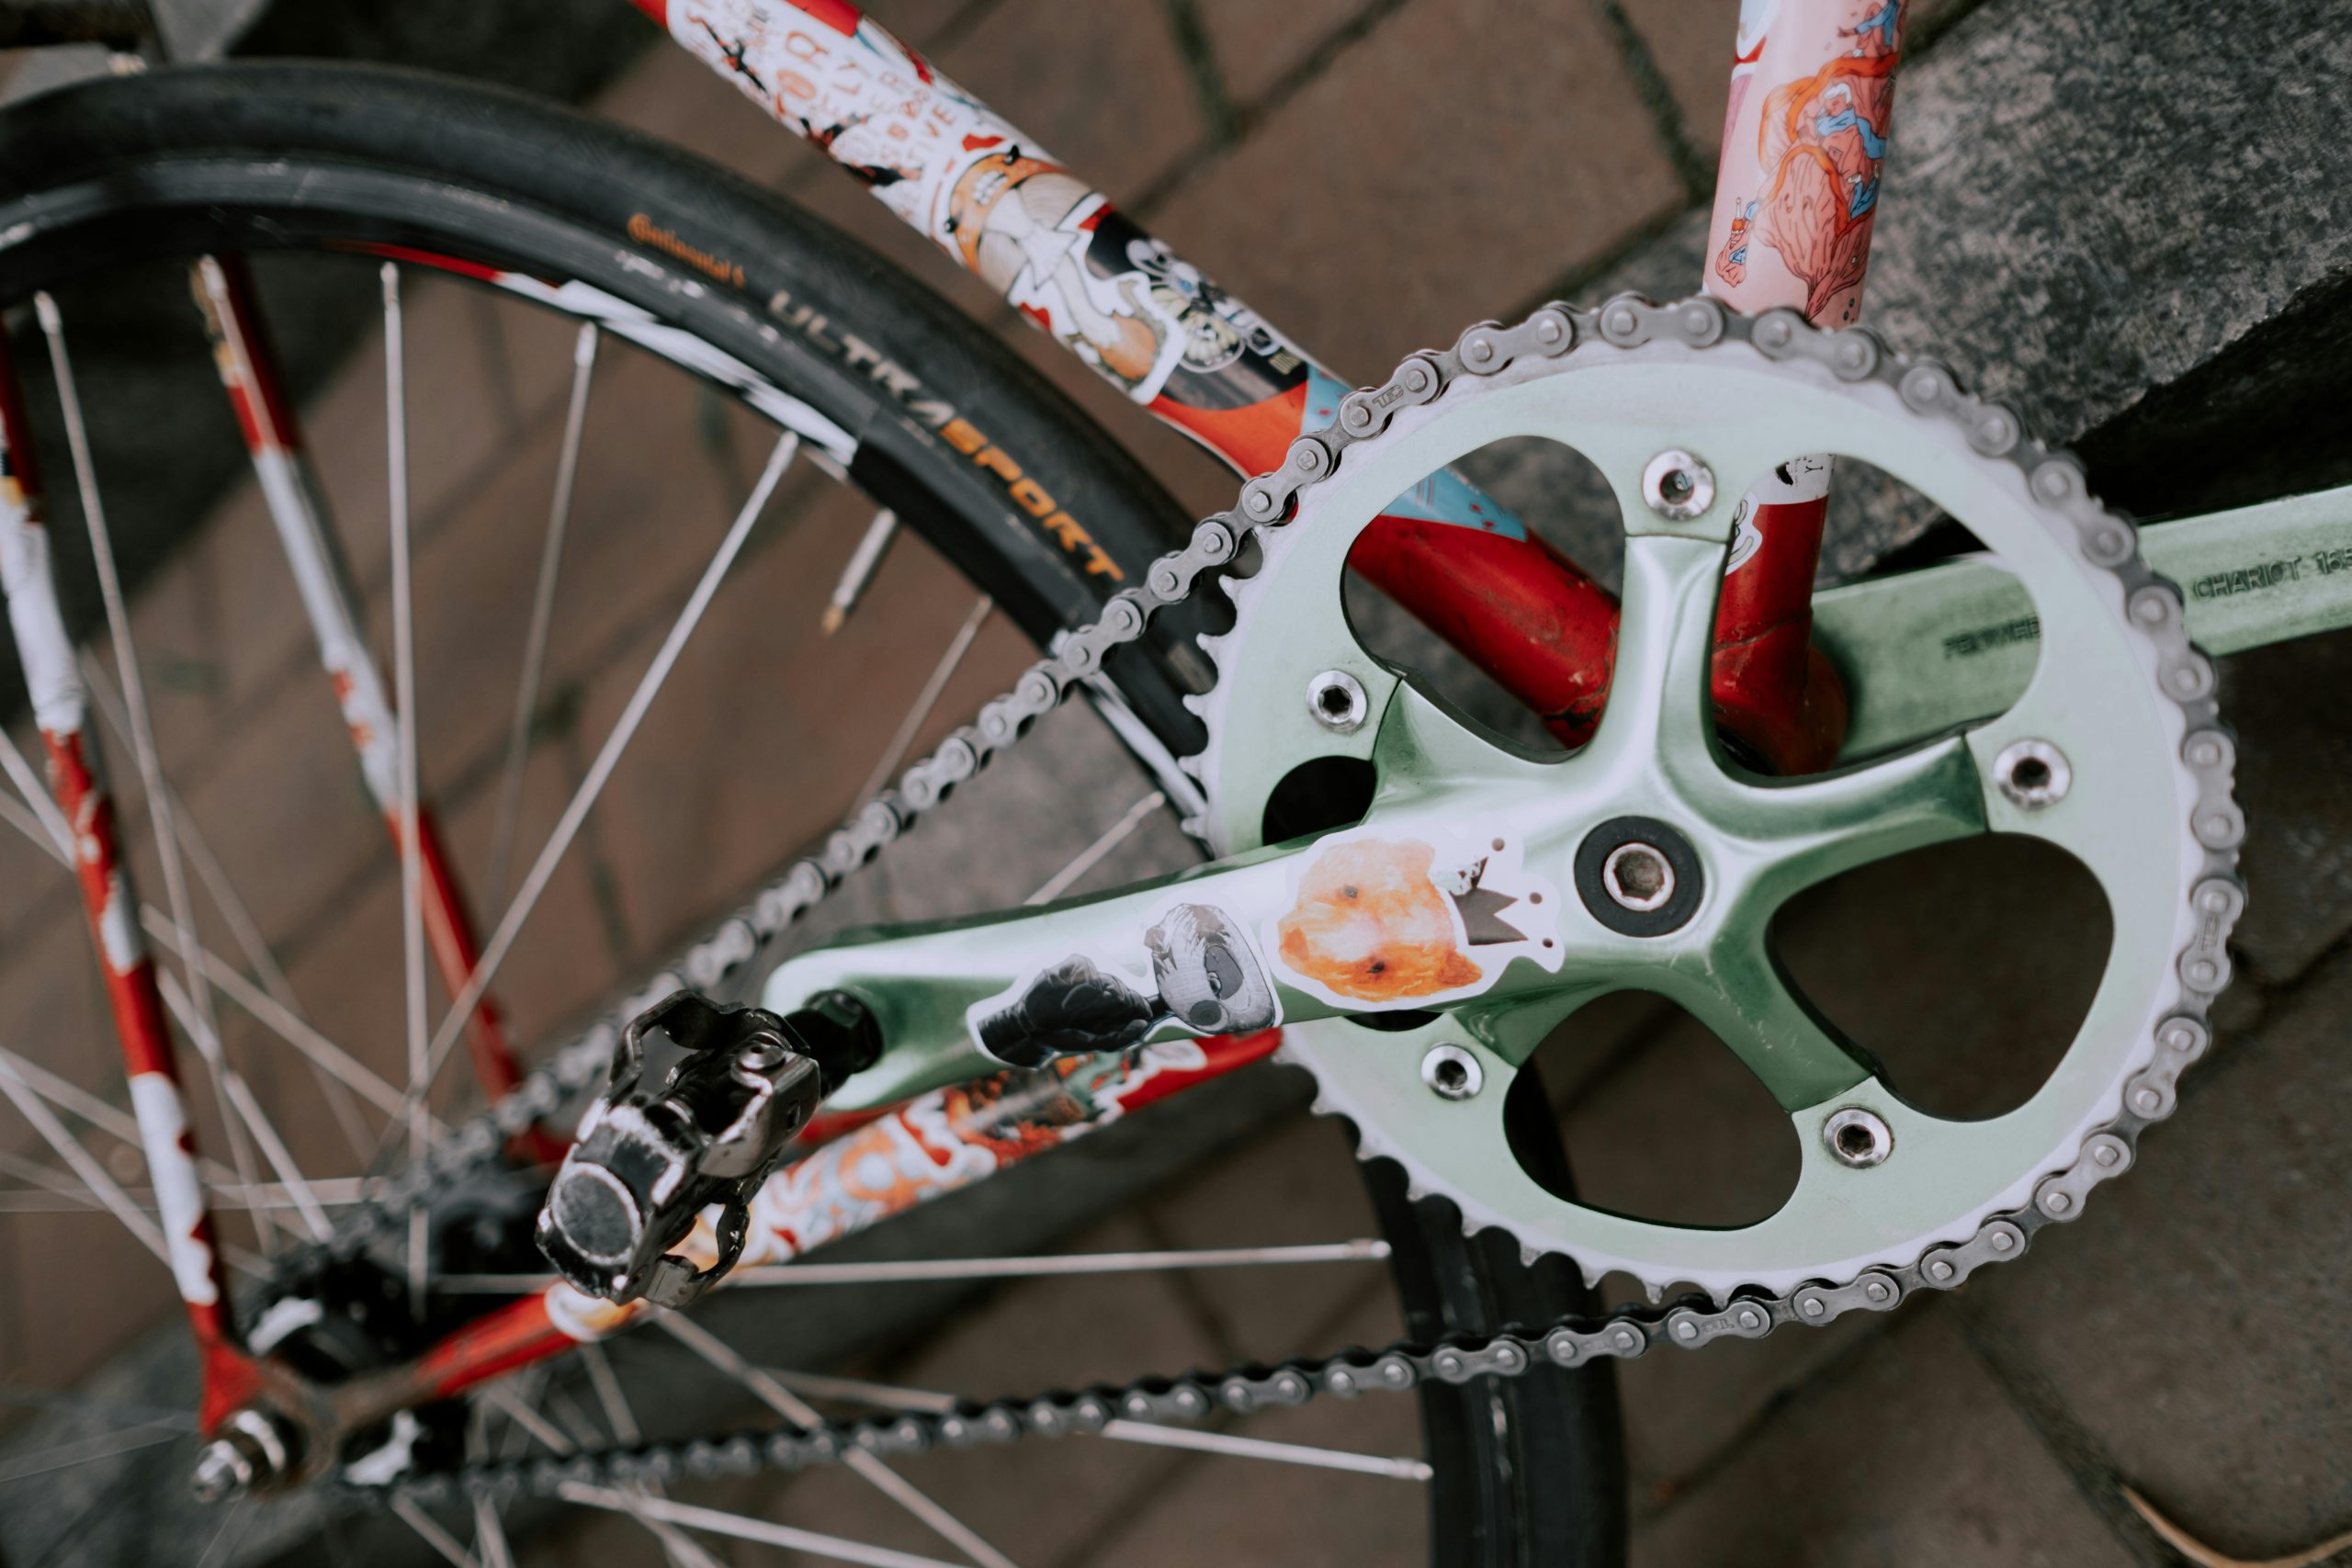
While some issues are lingering and may not fully show themselves immediately, it’s hard not to notice a broken chain. Your once-fluid movement will quickly become clunky or just stop completely, which can feel like a journey ender. With the right tools and knowledge, you can quickly repair your chain and return to the road.
- Start by identifying the broken or damaged link. A snapped link will appear clearly, but a slightly less damaged once will need searching for.
- Use your chain tool to remove the broken link by pushing out the pin holding the links together.
- If you have a power link, add a plate to each end of the chain. Push them together to ensure they lock. You may have chosen to remove the chain to assess the damage. If this is the case, you’ll need to route it through the derailleur before joining the power link.
- Apply weight to the forward pedal while holding the rear wheel still to tension the chain and secure the relevant links.
How to replace and adjust brake pads
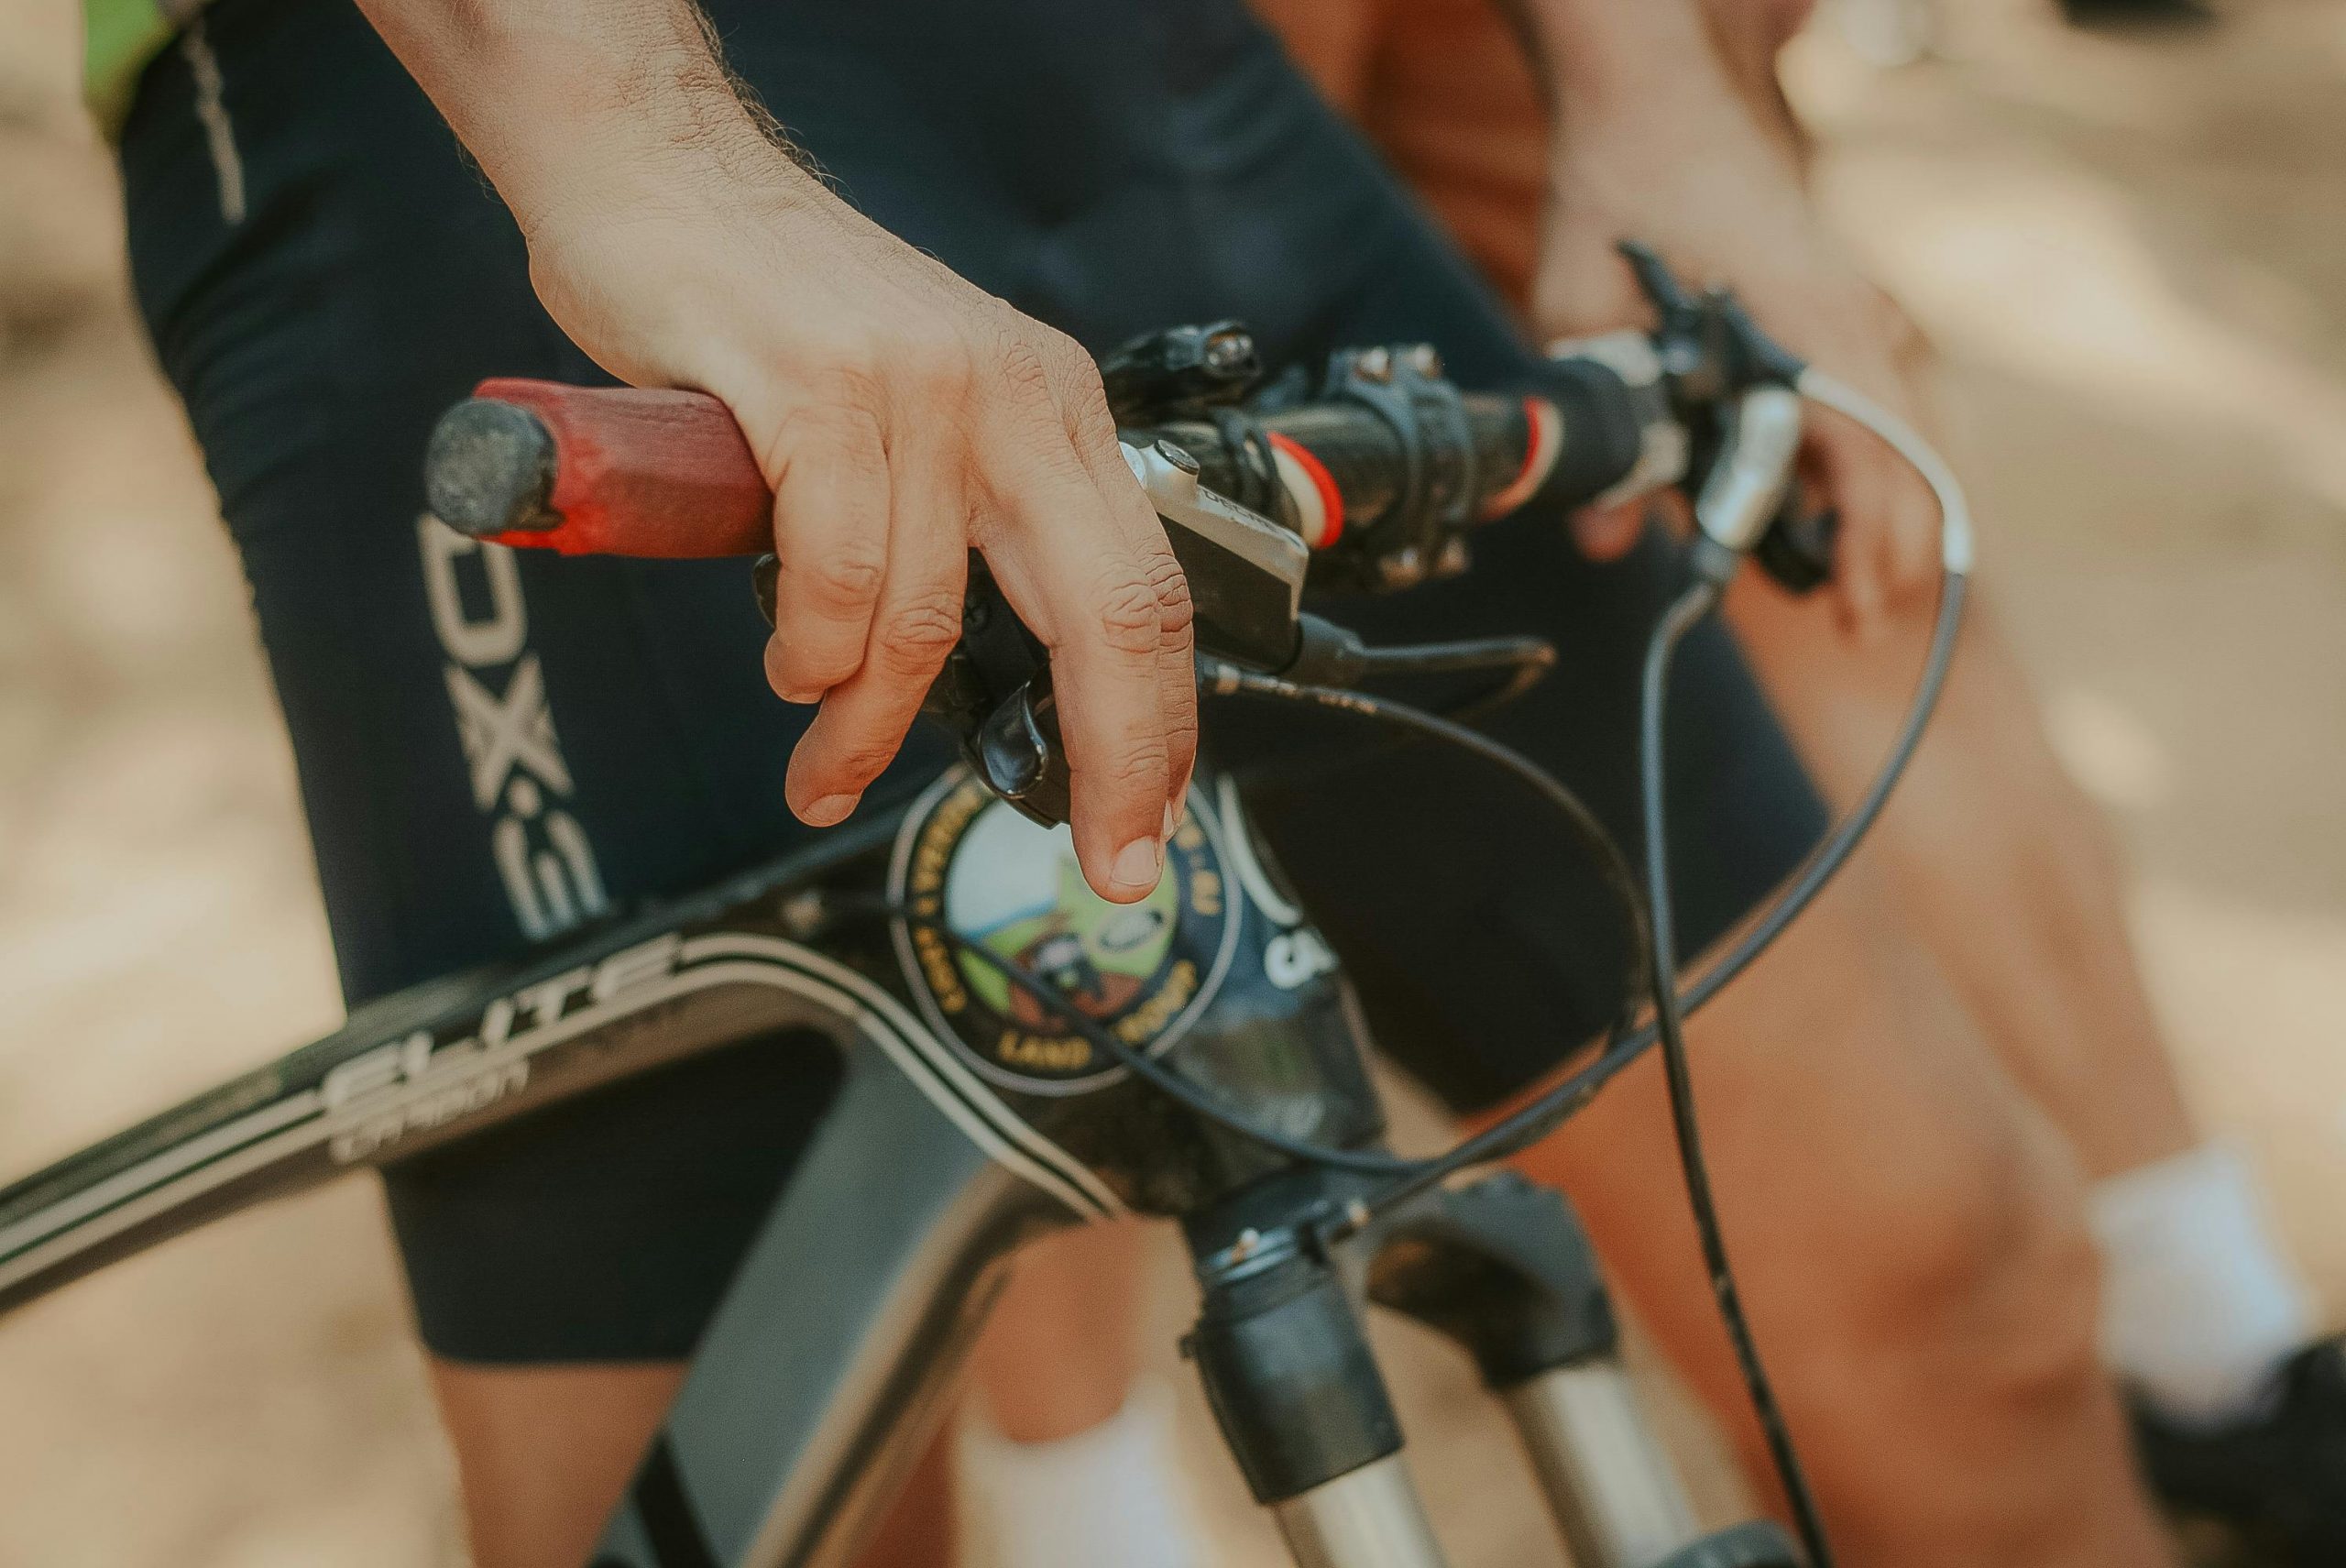
It’s time to adjust your brake pads when your brakes are not stopping as efficiently as usual or when their indicators, often circles or lines, disappear from the pads wearing down. Proper maintenance and replacement of brake pads can prevent brake failure, rim damage and potential accidents.
Loosen your brake off by unscrewing the brake cable barrel adjuster and using the lever to open the callipers, removing the wheel. Unscrew the grub that holds the brake pad enough for the pad to release, and slide your new pad in once you’ve checked the directions are correct.
Tighten the grub screw to seal the new pad in place, and repeat this on the other side. Reapply the wheel and use the barrel adjuster appropriately to the rim. Ensure the pads don’t rub on the tyre when the brakes are back on. You can do this using an Allen key if they need to be adjusted.

Tightening and replacing loose bolts
Rattling is never ideal to hear while cycling unless you have your keys in your pocket or backpack. This is often a sign of loose bolts, which should be addressed immediately. While possibly the simplest form of maintenance you can perform, it’s also one of the most important.
Travelling with a few spare bolts is always a good idea, but we know some bike-specific bolts can be difficult to come by. That’s why you must act on any loose bolts you notice immediately.
Take a screwdriver or torque wrench and check all areas of your bike to be completely sure everything is as tight as possible. If a specific bolt causes you a problem more than once in a few rides, it may be time to get it replaced. We strongly recommend checking your bolts before every ride to prevent losing any or risking accidents.
Checking for damage after a crash
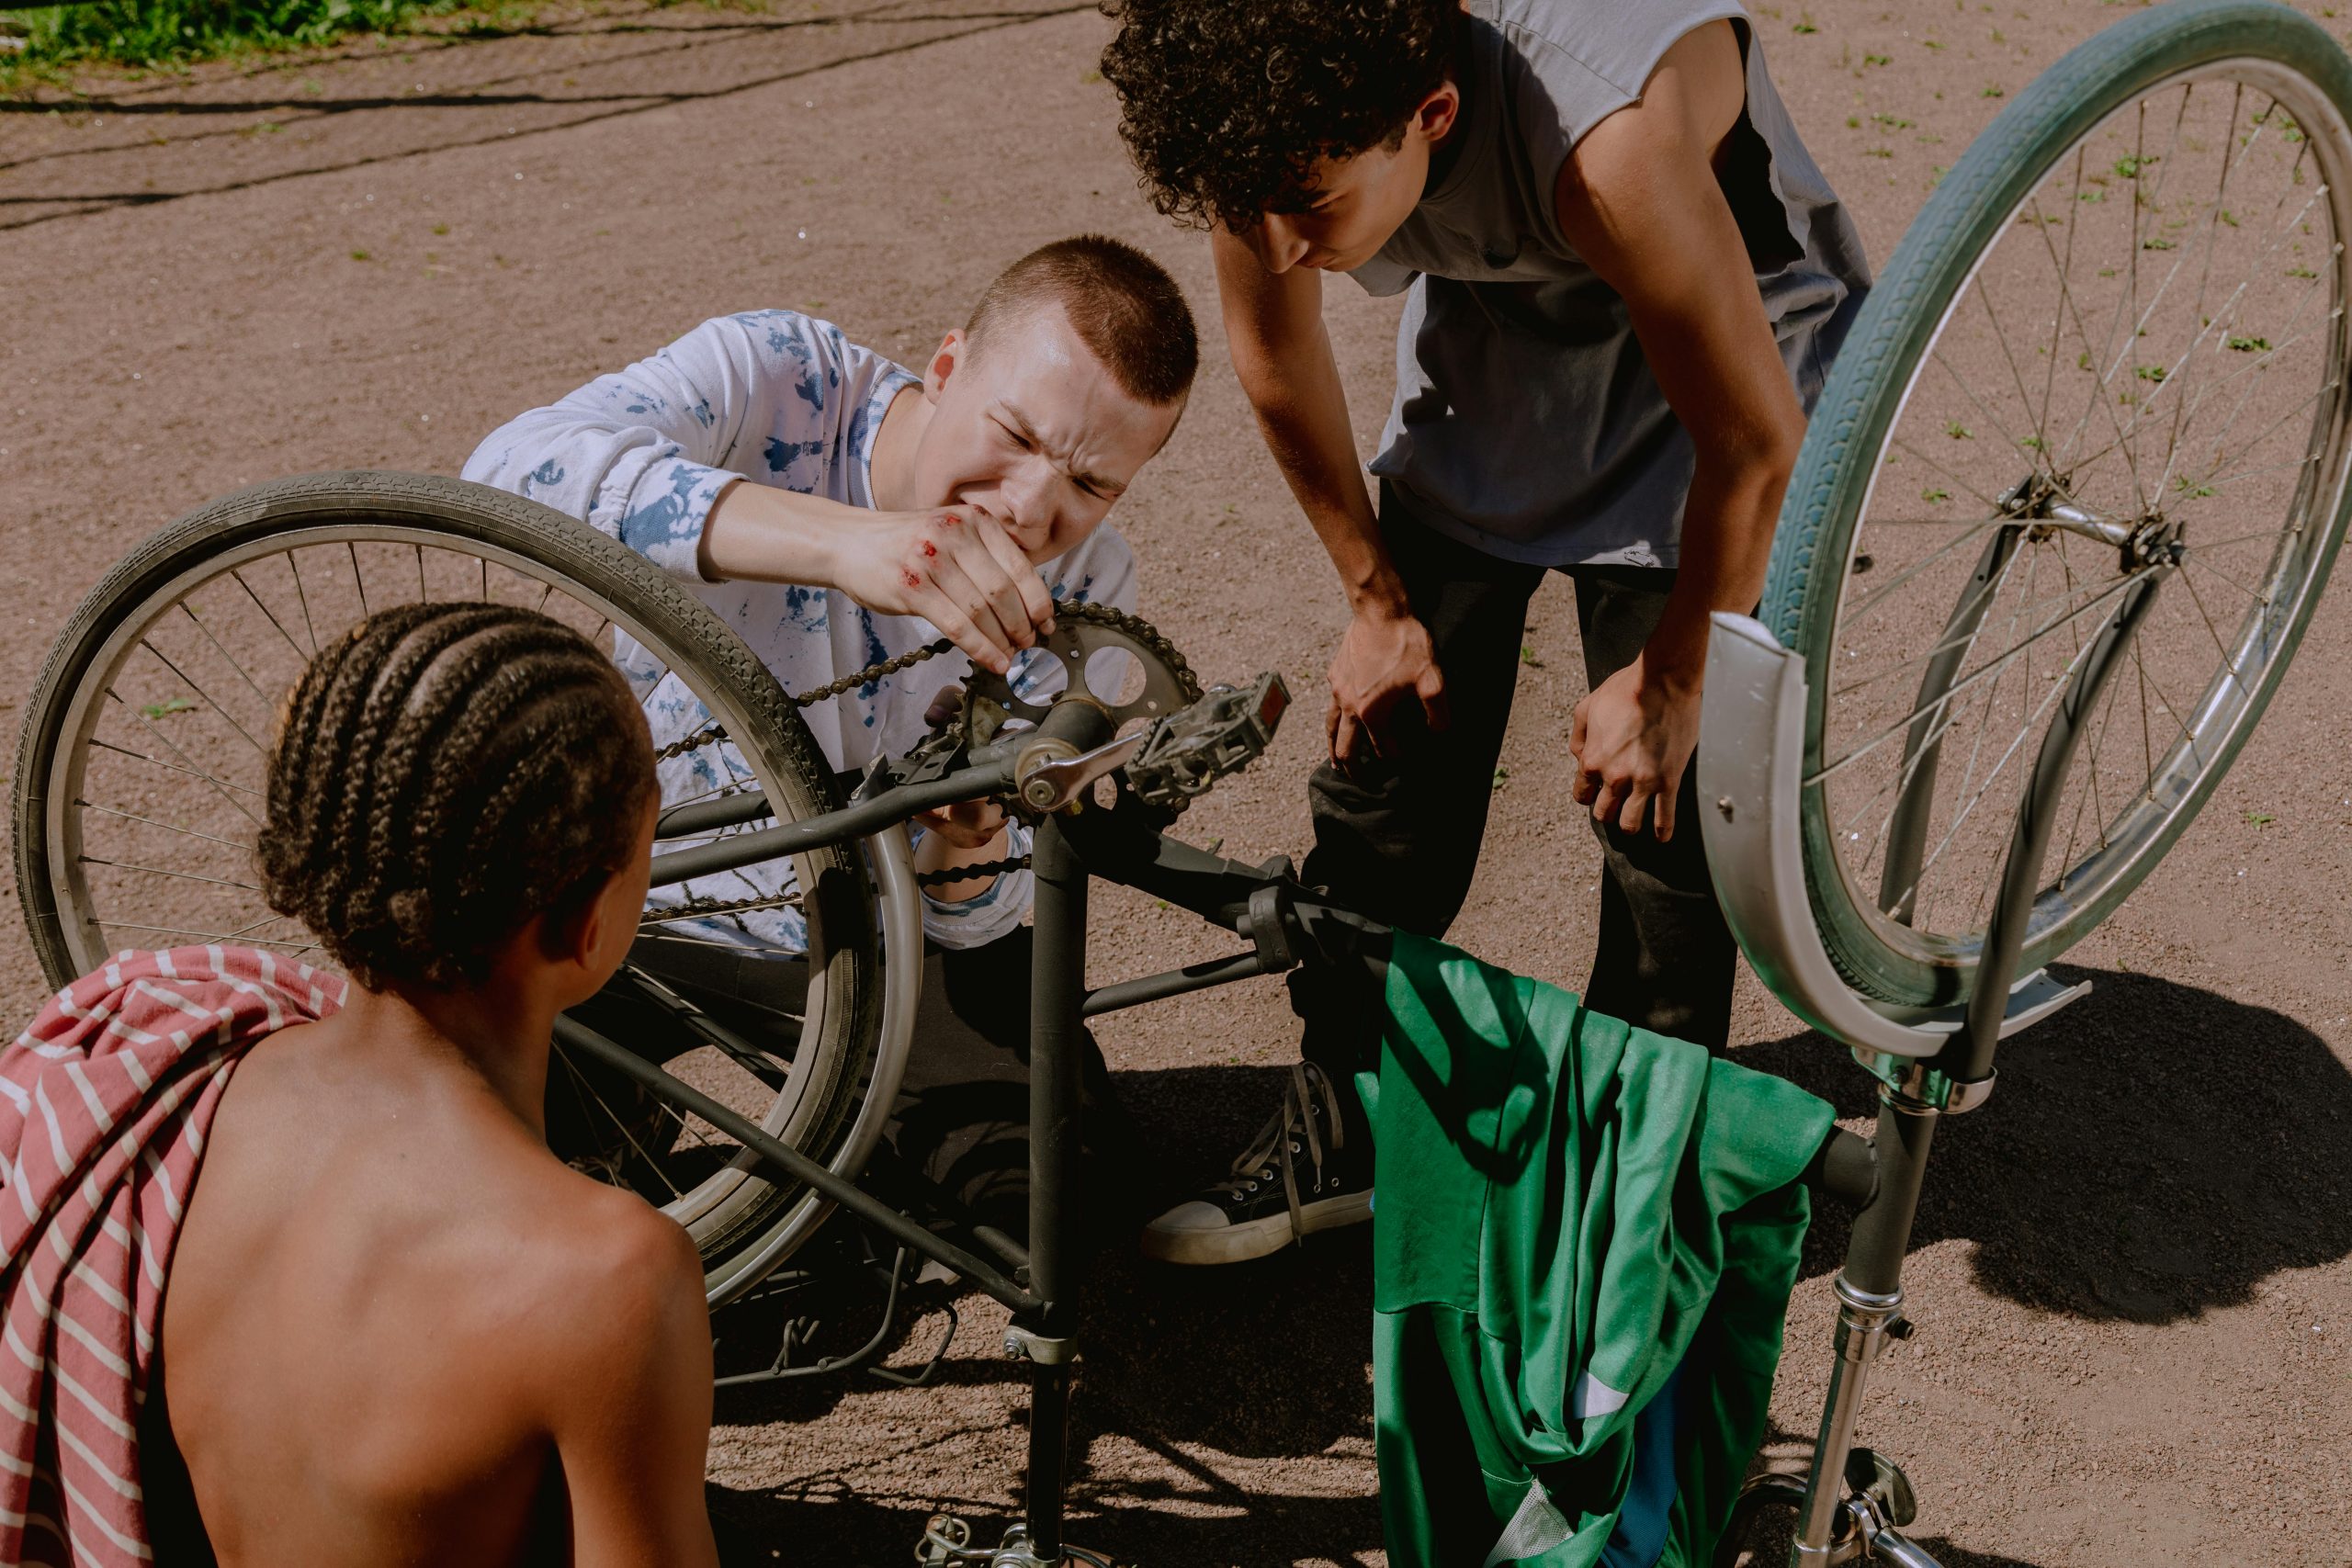
Even the slightest bumps that send you tumbling to the floor could cause damage to your bike. So, after any fall, collision or crash, it’s important that you know how to check your bike for any damage properly. We’ve broken down everything you should check before continuing your journey.
- Wheels – Check your front and back wheels by spinning them. Punctures should become noticeable immediately; you can refer to our above advice on how to fix them. If the wheels don’t spin, check your brake callipers to see if they’ve been knocked before assuming your wheel is bent.
- Shifters – These can often be knocked on impact and move around the handlebars. Put them back into position either by hand or, if they are too stiff, by loosening the clamp bolt.
- Handlebars – Test the strength of your bars after a crash by squeezing them and see if you can notice any extra flex or movement than usual.
- Saddle – Evaluate your saddle rails to ensure they’re still straight. You can continue your ride if not, but a displaced saddle could cause difficulties and even knee issues down the line.
- Frame – If you discover any cracks or splits on your carbon and aluminium frames, you should not continue cycling; the bike will require full repair. Check by running your hands over the front fork and work your way down.
- Check on yourself – You might not be able to feel the impact of your collision straight away, so it’s important to give yourself time to let the adrenaline wear off and assess if you’re ok to continue.
Bike maintenance essentials at Fawkes Cycles
Whatever fixes you need to make on the roadside or at home, we have the right tools for you at Fawkes Cycles. Browse our extensive range of bike maintenance tools, from full kits to individual tools, that will bring your bike back to its fluid and beautiful best.
Choose tool kits from leading brands and manufacturers, including Park Tool, Wera Tools and Birzman, and own a full set of useful tools and devices that you can use for quick and more complex repairs. For more garage-friendly equipment, browse our workshop essentials.
Once you’ve practised these methods at home, you can confidently tackle any issue you encounter on your travels and assist fellow riders. Stay safe and happy cycling!

Comments are closed here.